|
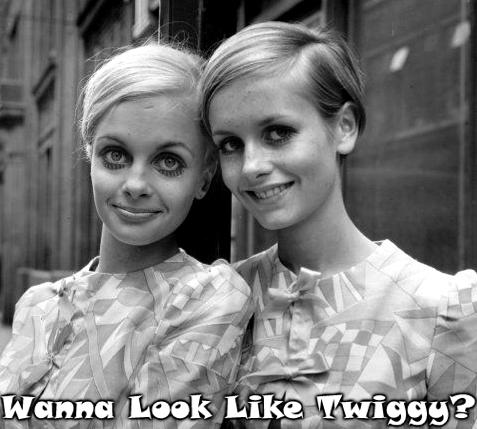
Getting Started (The Face):
* To begin, prep your face
with a light moisturizer. What effect does this application leave? Moisturizing will give your skin a healthy glow, much like
Twiggy's, as it reflects the light bouncing off it. You just want to dab a little bit on your cheeks, nose, forehead, and
chin, as you evenly blend all over.
* To lessen the shine and cover any facial sins, apply a light coat of loose powder,
again evenly distributed over the entire face. For some of us, a light powder just won't cut it, when trying to conceal a
blemish and that's perfectly understandable. Try a little concealer on top of that unwanted pimple and hide it with a powder
finish. You can also use that concealer to highlight underneath the eyes, if you wish.
* It's time to define those cheekbones!
Many people have a hard time putting on blush correctly. Often, you'll bump into a girl with these radiant bright pink cheeks,
in a less than flattering way. Remember, you are *not* trying to enhance the areas parallel to your *nose*! With that in mind,
blend your brownie blush diagonally along the cheek BONE. This is a trick Pattie Boyd used, to make her round face appear
longer and thinner.
Getting Critical (The Eyes):
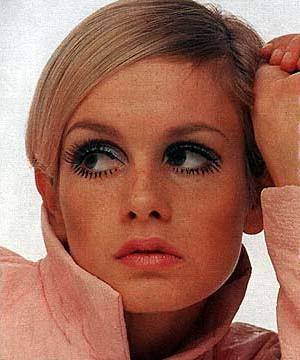
* The most vital element
of the Twiggy look? Oh, you didn't notice? lol. That's right, girls, the eyes. Those razzle, dazzle, sexy *mod* eyes. Critical?
You betcha! So pay close attention. Take your time. Be *careful*. And don't give up! It's definitely *MY* favorite part!
*
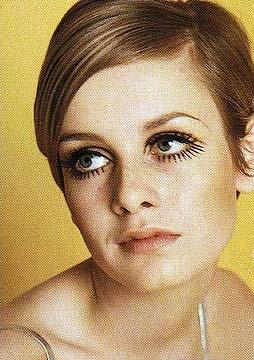
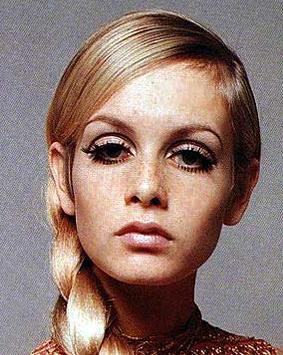
We'll start north and work our way down, beginning with the eyebrows. Take a look at Twiggy's brow. Soft. Defined. Arched.
Meeting at a tapered point. This is your mission. There isn't much other physical advice I can give you, other than observing
her brows carefully and tweezing your own with care.
* Once that's established, take your light brown eyebrow pencil and make short, definitive
strokes to further shape and define your brows (making sure they come to a precise tapered point).
* Using a medium eyeshadow brush, swab on a coat of white eyeshadow, starting from
the lashline to the crease of your eyelid, and blending upwards. Using your black eyelining pencil, start to outline your
eyelid crease (as seen on Twiggy). You want to make the line slightly above your natural crease that way once you relax
your eyes, it won't disapear into the fold on your eyelid. The line should start almost on the bridge of your nose (inner
eye) region, rise up, and then slowly skewer down ending past your crease to a tapered point.
* With a SMALL eyeshadow applicator, take the black eyeshadow and coat it on TOP of
the pencil line. Blend it softly, to create a more smokey, sultry look.
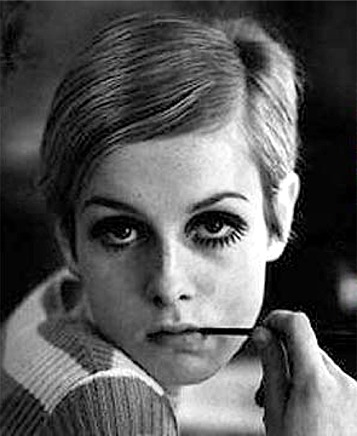
* Using your liquid liner, *carefully*
make a line as close to your lashline as possible (don't forget to go in between the lashes). If you have very big eyes, you
can draw the line thick, like Twiggy's. But if the distance between your eye crease and lashline is thin (like mine), don't
make the liquid line TOO thick (or else it will get lost in all that black make-up on your eye crease). Use the Twiggy's pictures
as a reference, as to what the line should look like. *note* The sharp end of the liquid line should create the first penciled-in
eyelash.
* Now take your liquid eyeliner and begin to actually DRAW on the bottom lashes. You
don't want them to look stubby, or too close together. Draw them carefully; the lashes on the outer edge should be the longest
and flick outwards. As you move towards the inner part of your eye, draw each lash shorter and smaller.
* Apply your strip of false lashes, glueing them to the base of your lashline, in
the shape of your eyeliner.
* Sweep several coats of mascara, on both top and bottom lashes (the mascara on the
top will blend your natural lashes with the falsies).

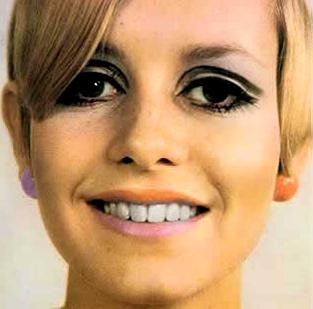
Getting Finished (The Lips):
*The last and final element
are your LIPS. Whether you choose the creamy beigey lipstick or just simple sheer lip gloss, dab on a generous amount, smudge,
and blot. Then re-apply and blot once more. A waste of lipstick? Not really. By blotting between applications, you remove
excess lipstick that would easily wipe off and you're actually preventing the lip color from wearing off (it lasts longer).
VOILA!!!
The Finished Product!
|